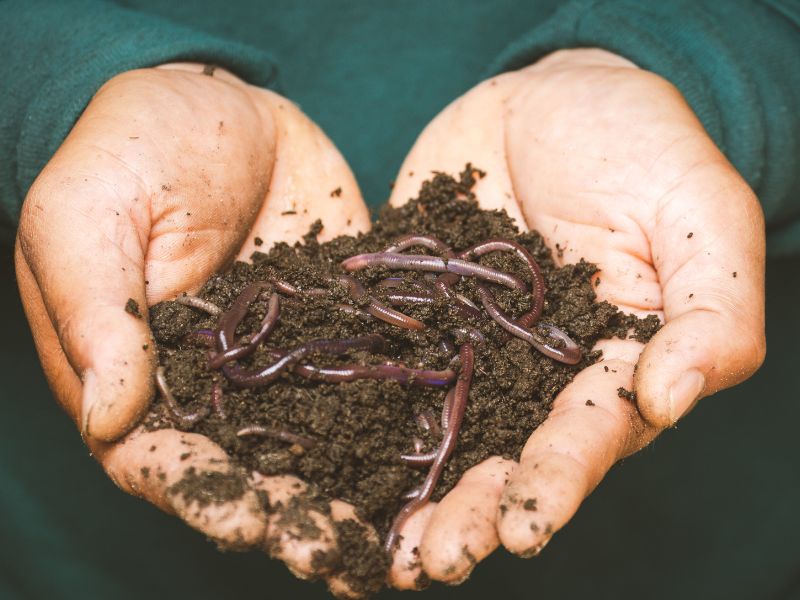
Worm Care Guide

- Keep the lid on the bin to protect the worms from light, to prevent escapees, and to keep flies/pests out.
- Keep bedding damp! When bedding gets dry, add water slowly. A layer of damp newspaper or coffee filters on top helps seal in moisture.
- Break or tear food into small pieces to encourage faster processing.
- Bury food below the top layer of bedding.
- Try not to overfeed. Check if worms are eating the food they already have before adding more. (You can freeze excess scraps!)
- Keep the bin indoors or in the shade, never in direct sunlight. Ideal temperature is 55-75°F (never below 32°F or above 90°F).
Worm Menu
Worms LOVE to eat:
- Fruit Pieces & Peels (Woem favorites: Bananas, Melons, Avocados)
- Vegetable Pieces & Peels Coffee Grounds
- Tea Bags Egg Shells Shredded Newspaper
Worms DISLIKE (but will eat SMALL amounts of):
- Citrus pieces & peels (Ex: Oranges, Lemons, Limes)
- Spicy Foods (Ex: Jalapeños, Onions)
- Plain Bread, Pasta, Cereal, Leaves & Yard waste
Worms CANNOT eat:
- Meat
- Fish Dairy Products (Ex: Milk, cheese)
- Oily Foods Salty Foods Glossy/Shiny Paper
Worm Bin Maintenance
Daily
- Collect scraps
- That’s it. They are really that low maintenance.
Food for your worms
- Fruit Pieces & Peels (Worm favorites: Bananas, Melons, Avocados).
- Exceptions: NO Citrus or Pineapple
- Vegetable Pieces & Peels Coffee Grounds
- Exceptions: No onions
- Tea Bags, Egg Shells, Shredded paper
Weekly
- Check the moisture level of the bedding. If it is dry, spray with water or add more coffee grounds. If too wet, you could add a little bit of dry shredded paper (or a ripped up paper towel).
- See if your worms are hungry. If there is no leftover food, feed them! Bury the food with a couple inches of bedding.
- Check the bottom tray for liquid and escapees. The liquid will start to smell pretty quickly, so you’ll want to wash it out.
Harvest Time:
(Every 3-4 months) – When the bedding material is no longer identifiable – it will look like soil
- A couple weeks in advance, start feeding your workers only in one corner. They will then mainly hang out there.
- Right before you harvest the castings, prepare the new bedding. Shred a heck of a lot of paper and mix it with coffee grounds until it is the texture of a wrung-out sponge. Stir in some crushed egg shells.
- To harvest the worms, simply take the now digested bedding material out of your worm bin, leaving the feeding corner.
- Add new bedding to the bin.
- Check the harvested material for stragglers (and if you want, for cocoons. If you check the picture below, you will see a cocoon at the base of my thumb). Do what you will with the worm castings, place any stragglers in the new worm bedding.
Sharing the love of worms. Written by Master Composter and Solana Center Docent, Tammy Churchill
Over the holidays I visited family in Northern Wisconsin. My Master Composting skils were drawn upon as my Mother-In-Law was looking for a solution to divert her food scraps from the landfill when her compost bin was buried in snow and the ground is frozen solid. From my experience volunteering at Solana Center information booths, I knew that not everyone is receptive to having indoor worm bins. Fortunately, she was.
Following the Solana Center instructions, I drilled the requisite air holes in the container and we made up bedding. The mail-order worms arrived when it was only 17 degrees outside. That box was cold! Surprisingly they survived, but it did take a few days for them to unball completely. Delicious food scraps helped with that.
To give more confidence to my Mother-In-Law, I shared this worm care cheat sheet, which is now posted on her fridge. Knowledge is power, plus she knows her personal worm advisor is only a phone call or email away!
