5 Ways to Reuse Your Kitchen Scraps

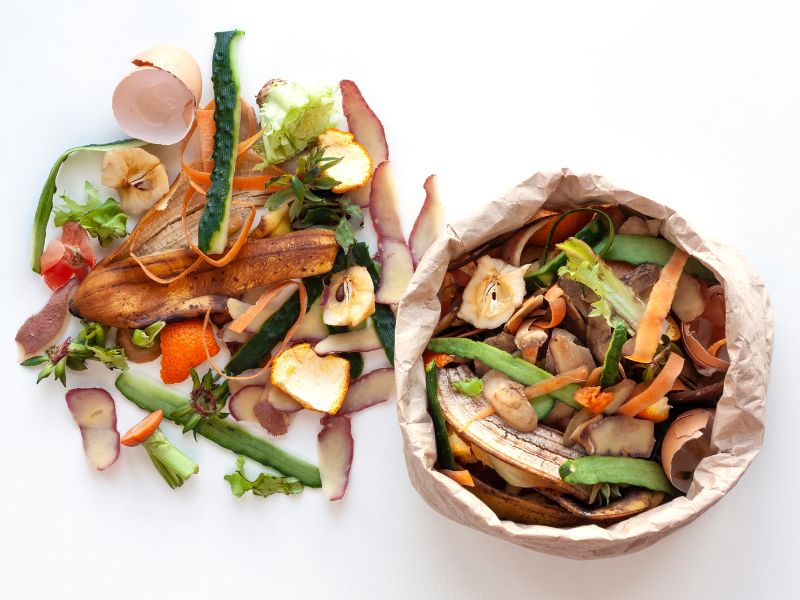
You’ve just finished chopping your veggies in prep for dinner and are collecting your ends and skins to put in your compost bin. But wait! Before you send those scraps to compost, we urge you to take a moment to think if you might be able to repurpose them into something new! According to the Food Waste Hierarchy, feeding hungry people or animals is preferable to composting — but above all, preventing these organics from going to the landfill at all. Let’s dive into a few ways you can reduce food waste in the kitchen by repurposing your scraps!
1. From Scraps to Soup
Veggies are delicious in so many ways and can go much further than your initial dish! Next time you make a stir fry, soup, salad, or any veggie-heavy dish, save your scraps and later turn them into a hearty vegetable broth. Bones from meat can also be used to make a nutritional broth. This trick will hugely reduce your kitchen waste and take you from scraps into soup! Here are a few tips.
Step 1, designate a jar or sealed container to be your “broth container”. Then every time you chop vegetables, save the ends, stems, and skins and put them in and store in the freezer (this can be stored for up to 6 months). After eating meat, put the bones in a container and put in the freezer as well. When you feel your bag/container is full then it’s time to make your broth! Although all vegetables can make tasty broth you may want to be mindful with what veggies you’re saving, thinking about your broth flavor.
A few of our suggested favorites to use are:
- Garlic
- Greens
- Onions
- Peppers
- Carrots
- Herbs
- Celery
- Mushrooms
Note: Too many potatoes and starchy veggies can make your stock gummy so we would suggest holding those.
Step 2, to make your broth:
- Empty frozen scraps into a large pot
- Fill with water and bring to a boil
- Reduce heat and simmer for 30 minutes to 1 hour
- Enjoy your stock or store in a jar and save it for later. Refrigerate your stock for 1 week or make ice cubes and store for up to 3 months
2. Reviving Sad Veggies
Have your veggies wilted? Have they lost their shape? Don’t fret, all you need is some cold water to revive them! To do this, place the sad vegetable into a container filled with ice-cold water and let them sit for 5-10 minutes. Soon they will be back to their perky state — this works especially well with greens!
3. Regrowing in your Kitchen
Did you know many vegetables in your kitchen can easily be regrown? The little scraps you have left can be placed in water to sprout into more of your favorite items instead of being tossed out. This is a great kitchen experiment to do with young kids.
What you need:
- A dish or jar (slightly larger than veggie scrap)
- Water
- Sunlight
First, take your vegetable top or bottom and place in a dish of water (don’t completely submerge it). Set on the windowsill or in a location near sunlight. Replace the water every few days. Depending on what vegetable you choose some may grow in the dish of water and others will need to be planted in soil. Check out Food Revolution Network for details on regrowing from scraps.
Green onions and leeks are great to start off with since they regrow super easy. When cutting, save at least 1 inch at the bottom and place in a dish with water (don’t fully submerge). Within days your onion greens will have started growing again and be ready to use!
4. Stale Bread Gets its Crisp Back
Stale bread is never ideal, but before you throw it out try making homemade croutons or bread crumbs to elevate your next soup or salad!
Croutons:
- Chop stale bread into cubes
- Season (however you like) and toss in oil
- Spread onto a large baking sheet
- Bake at 375 degrees F for 10-20 minutes depending on size. Flip halfway through cooking.
Bread Crumbs:
- Cut stale bread into chunks
- Toss into a blender and pulse until crumbed (around 1 minute depending on the desired texture). Add spices if you’d like.
- Heat the oven to 300 degrees F and spread crumbs onto a baking sheet
- Cook for 5 minutes. Stir and cook for another 5 minutes. Bake until dry and golden.
- Let cool and transfer to an airtight container to add to your next meal for extra crispiness.
5. When Life Gives you Lemons…
First, make some delicious treats or a refreshing beverage. Then use your lemon scraps and rinds to make a multi-purpose cleaner!
What you need:
- Lemon scraps
- Airtight jar (mason jar)
- Vinegar
- Castile soap
- Spray bottle (bonus points for reusing an old one!)
To make cleaner:
- Fill the jar with lemon rinds/peels and enough vinegar to cover
- Let sit for 2-4 weeks (the longer the stronger) shaking occasionally
- Strain the liquid from the jar and add a few drops of castile soap
- Mix and pour into the spray bottle
Use this cleaner in your kitchen (and anywhere else) leaving a fresh lemon scent and all from your scraps.
Article was written by Solana Center Docent Salina.
