From the Rotline: How Can I Harvest My Worms’ Castings?

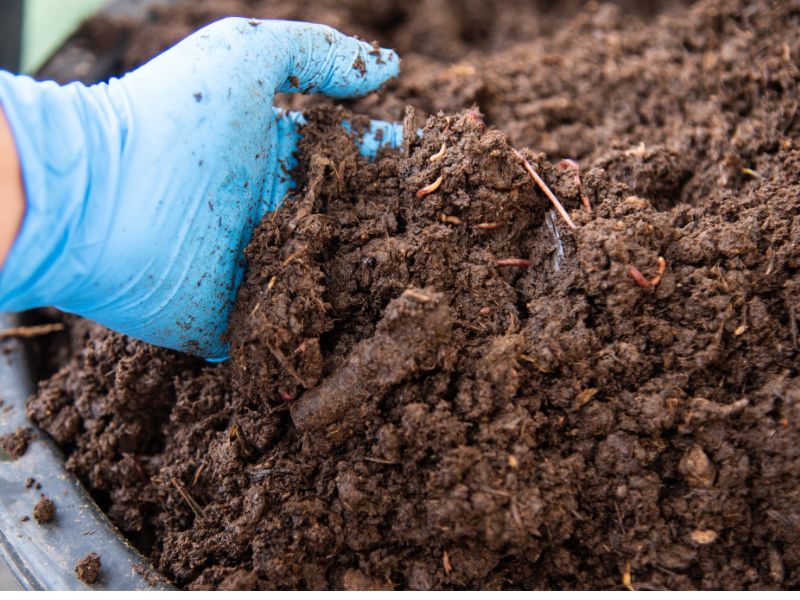
The ability to harvest small handfuls of worm castings as needed is a thing of composting beauty. However, in order to ensure that your vermicomposting system diverts the greatest volume of organic material and supports the healthiest worm population, it’s important to fully harvest and refresh the tray(s) every so often! You will know that a harvest is on the horizon when bin contents have dropped substantially and the original bedding material is practically unrecognizable, having been replaced by brown, earthy vermicompost and castings.
When harvesting castings, the trick is to separate out and keep as many worms as possible. Any escapees won’t wreak havoc in your garden, but they are more likely to survive and thrive in the hospitable environment of the worm bin. Plus, red worms are ideally a one-time investment; a multi-generational family of worms will perpetually produce nutrient rich castings as long as they are kept in the bin! There are a variety of ways to harvest worm castings. Here are a few of the most common methods:
1. The Migration Method
Worms will follow food scraps, and given a little time, can actually be guided to sort themselves from their castings. The key is to STOP feeding the area you wish to harvest, and ONLY add food to the area with fresh bedding. The worms will travel to the new area in search of food, leaving you with (virtually) worm-free castings to harvest. After harvesting, replenish the now-vacant side or tray with new bedding and food scraps to restart the process. Isn’t it nice when the worms do all the work?
There are two general ways to implement the migration method:
If your worm bin is comprised of a single tray, the worms will need to travel horizontally to one side of the bin. Move material to be harvested to one side of the bin, and replenish the other side with fresh bedding and food scraps.
If you want to utilize mulitiple trays, the worms will need to travel vertically (either up or down) to a newly-prepared tray with fresh bedding and food scraps.
- PRO: This easy, self-contained process is mostly hands-off; useful for anyone who is queasy about handling the worms or getting a little messy.
- CON: Expect waiting 1-4 weeks (depending on the size of the bin) for a good proportion of the worm population to relocate to their new home.
2. The Photosensitivity Method
Worms are highly sensitive to light, and will readily move away from light sources. By strategically introducing light, worms can be guided to burrow to a desired location, allowing for easy collection of the remaining castings. If outdoors, choose a sunny location to work; if indoors, place the piles under bright light for the entire process.
There are two general ways to implement the photosensitivity method:
a. The Volcano/Cone Method
The Volcano/Cone Method is practiced by emptying out the bin contents onto a stable surface (that you don’t mind getting dirty) and sorting the castings into loosely-packed, cone-shaped piles. The worms will continually burrow away from the edges to escape the light, allowing you to scrape the worm-free castings off of the tops and sides of the piles. Take a 15 minute break after each round of castings removal to allow worms time to move inward. Repeat this process several times until only small piles of worms and castings remain; these can be placed into a bin with fresh bedding and food scraps.
b. The Burlap/Filter Method
The Burlap/Filter Method is practiced by first emptying out bin contents into a temporary holding area, then immediately replenishing the empty bin with fresh bedding and food. Place a piece of damp loosely-knit burlap (or any mesh cloth with openings large enough for worms) over the bin, allowing it to hang over all edges. Spread a thin (approx. 1 inch) layer of castings on the burlap. Wait for at least 20 minutes for the worms to burrow away from the light source, directly into their new home. Worm-free castings can then be removed from the top of the burlap. Repeat this process until all bin contents have been separated.
- PRO: Fairly organized and immediately gratifying processes that allow the harvester to multi-task.
- CON: Not for the easily distracted; worms that are left in the sun for too long will not survive the ordeal!
3. The Free-for-All / Meditative Method
If you love getting to know your worms up close and personal, this slower-paced, hands-on style may just be the method for you.
There is essentially no planning or technique required with this method; simply dump out the bin contents (probably onto a surface you don’t mind getting dirty) and remove the worms from the castings by hand. Worms should soon after be placed into a bin or tray with fresh bedding and food scraps. While less organized than other methods, this strategy is perfectly effective as long as you don’t mind spending a little extra time sorting through castings.
- PRO: Immediately gratifying, lots of fun for those who enjoy handling the worms, and a great activity for kids!
- CON: Not a recommended method for those in a hurry.
Happy Harvesting!
